After living here a year, our apartment is starting to feel more and more like home. Although the mister did a great job with his bachelor pad, it was still just that: a bachelor pad. With some cleaning, rearranging, decorating, and DIY projects, we're getting closer to a place that we both love. It holds books, maps, and flags (thanks to the mister), and curtains, candles, and pretty pillows (thanks to me).
When you first come in the door, the living room is on your right. This picture is taken from the doorway.
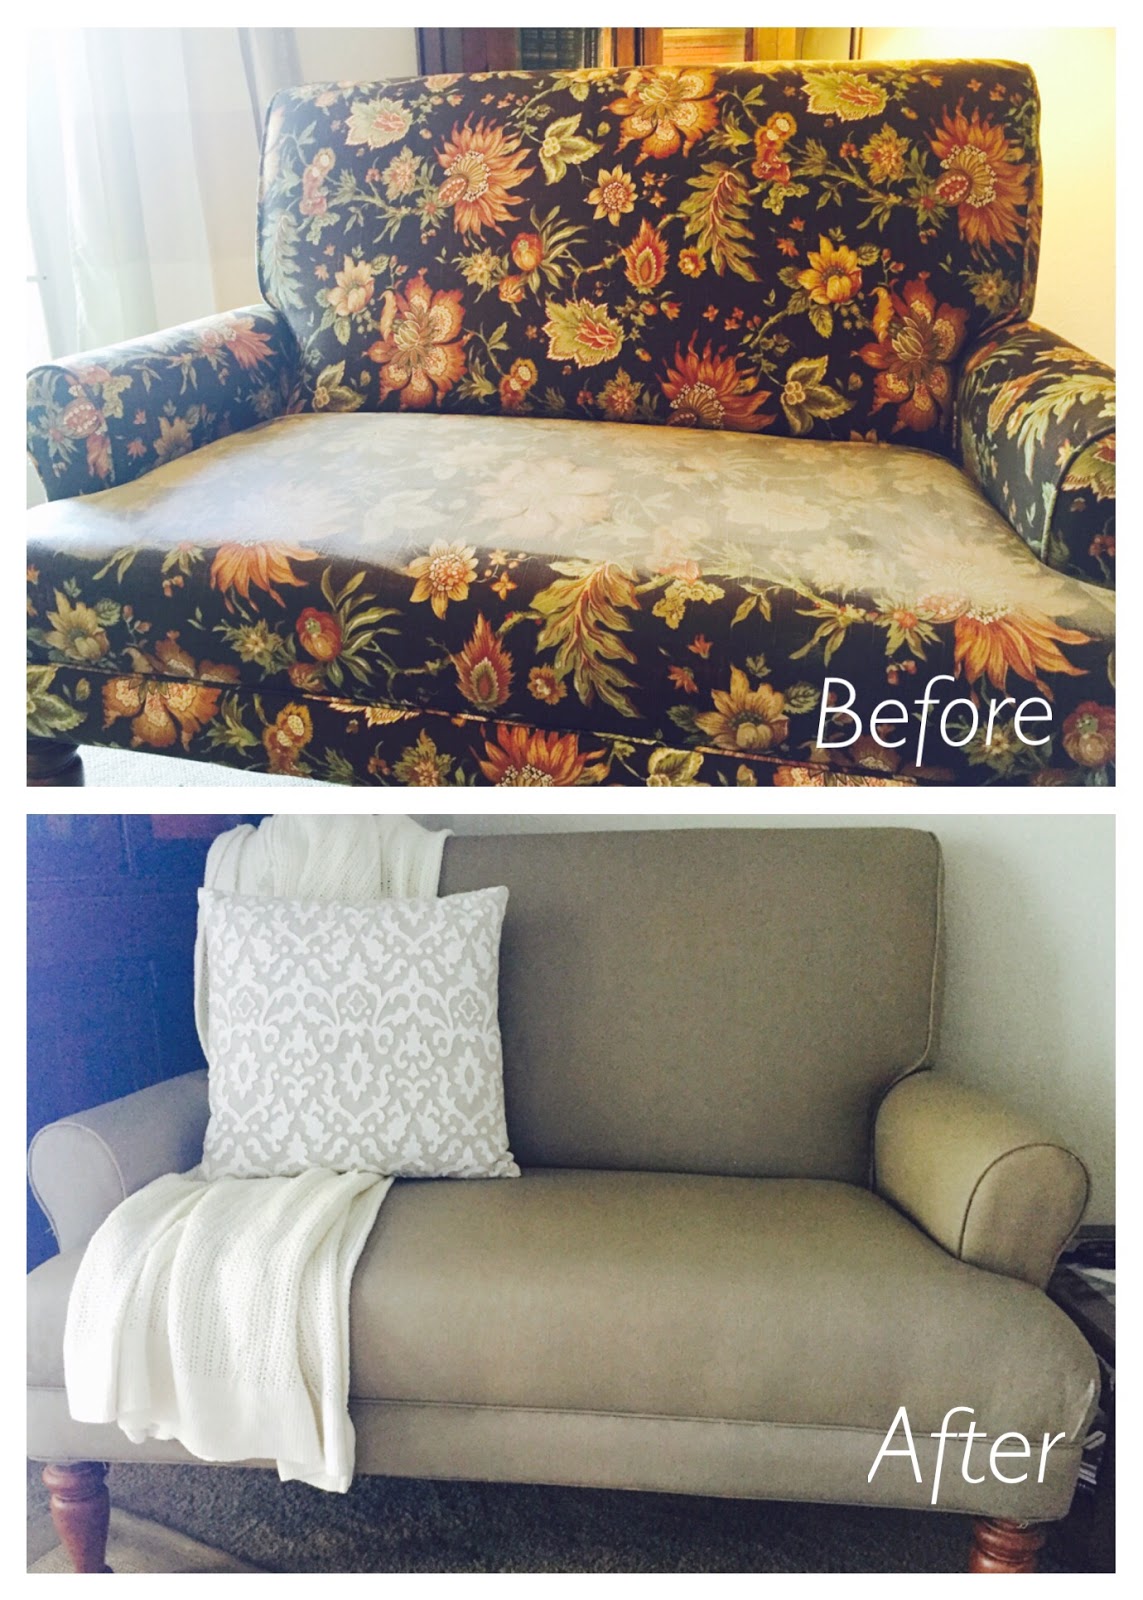
That little loveseat/settee on the far right is one of my first significant DIY projects. I purchased the piece on Craigslist for a great deal, but wasn't completely happy with the chocolate brown and orange floral fabric. So I painted the upholstery! It turned out great, and feels like soft leather. I also painted the wood on the chair and sofa. The upholstery is in great condition, but the wood was quite orange and distracting. So antiqued white it became!
On the wall above the desk, I hung two wedding photos. The dark wood hutch on the right is from my grandmother-in-law. It holds old books and a pretty white ironstone soup tureen from my mother. The cotton on the side table is signature Southern decor. The desk, also from my mom, is my regular study place (preferably with the door open and my pumpkin soufflé candle burning!).

As you stand in the doorway, the dining room is on the left. I'm hoping to do some work in this room still. My latest addition is the two Parsons chairs on the ends ($14 on Craigslist!).

This photo of the kitchen is also taken from the doorway. It's plenty large enough for the two of us, and I love that I can stand at the sink and look out the living room windows.

The mister and I are serious coffee and tea drinkers, so this little station is used every day.

The dried craspedia (billy balls) in the main bathroom are from our wedding. My mother-in-law embroidered the art in the four little frames.

Our bedroom is cozy and bright. The bed frame was handmade by the mister's grandfather. The monogrammed sheets, quilt, and decorative pillow were all wedding gifts from family.

My favorite part of the master bath is that our grey-blue shower curtain perfectly coordinates with the grey-blue in my preserved bridal crown. The bath towels are almost the same pattern and color as our bedspread.

There is one more bedroom that we currently use as a library/music room. It has seen very little of my influence, so I didn't include it. Eventually, it'll probably become a nursery which means I could do one of my favorite things: rearrange! Until then, I ought to devote a weekend to freshen it up.
So there you have it! A photo tour of our little apartment.